Your Secure Gateway to Crypto: A Complete Guide to Trezor.io/start
In the ever-evolving world of cryptocurrency, ensuring the security of your digital assets is essential. One of the most trusted ways to manage and safeguard your crypto portfolio is by using the Trezor hardware wallet. But before you begin, it’s crucial to start at the right place — Trezor.io/start. This official onboarding portal guides users through setting up their device, installing essential tools like Trezor Suite and Trezor Bridge, and enabling features such as Trezor login and Trezor staking.
Why Visit Trezor.io/start First?
When you purchase a new Trezor device, the very first step should always be visiting Trezor.io/start. This official URL ensures that you’re not downloading third-party software or falling victim to phishing scams. Everything on this page is hosted directly by SatoshiLabs, the creators of Trezor.
Here’s why this page matters:
- Verified Downloads: Access to the official Trezor Suite and Trezor Bridge software.
- Secure Setup: Guided instructions for initializing the Trezor hardware wallet.
- Step-by-Step Guidance: Helps new users comfortably navigate the onboarding process.
- Advanced Features: Learn how to enable and use Trezor staking, privacy settings, and more.
Setting Up the Trezor Hardware Wallet
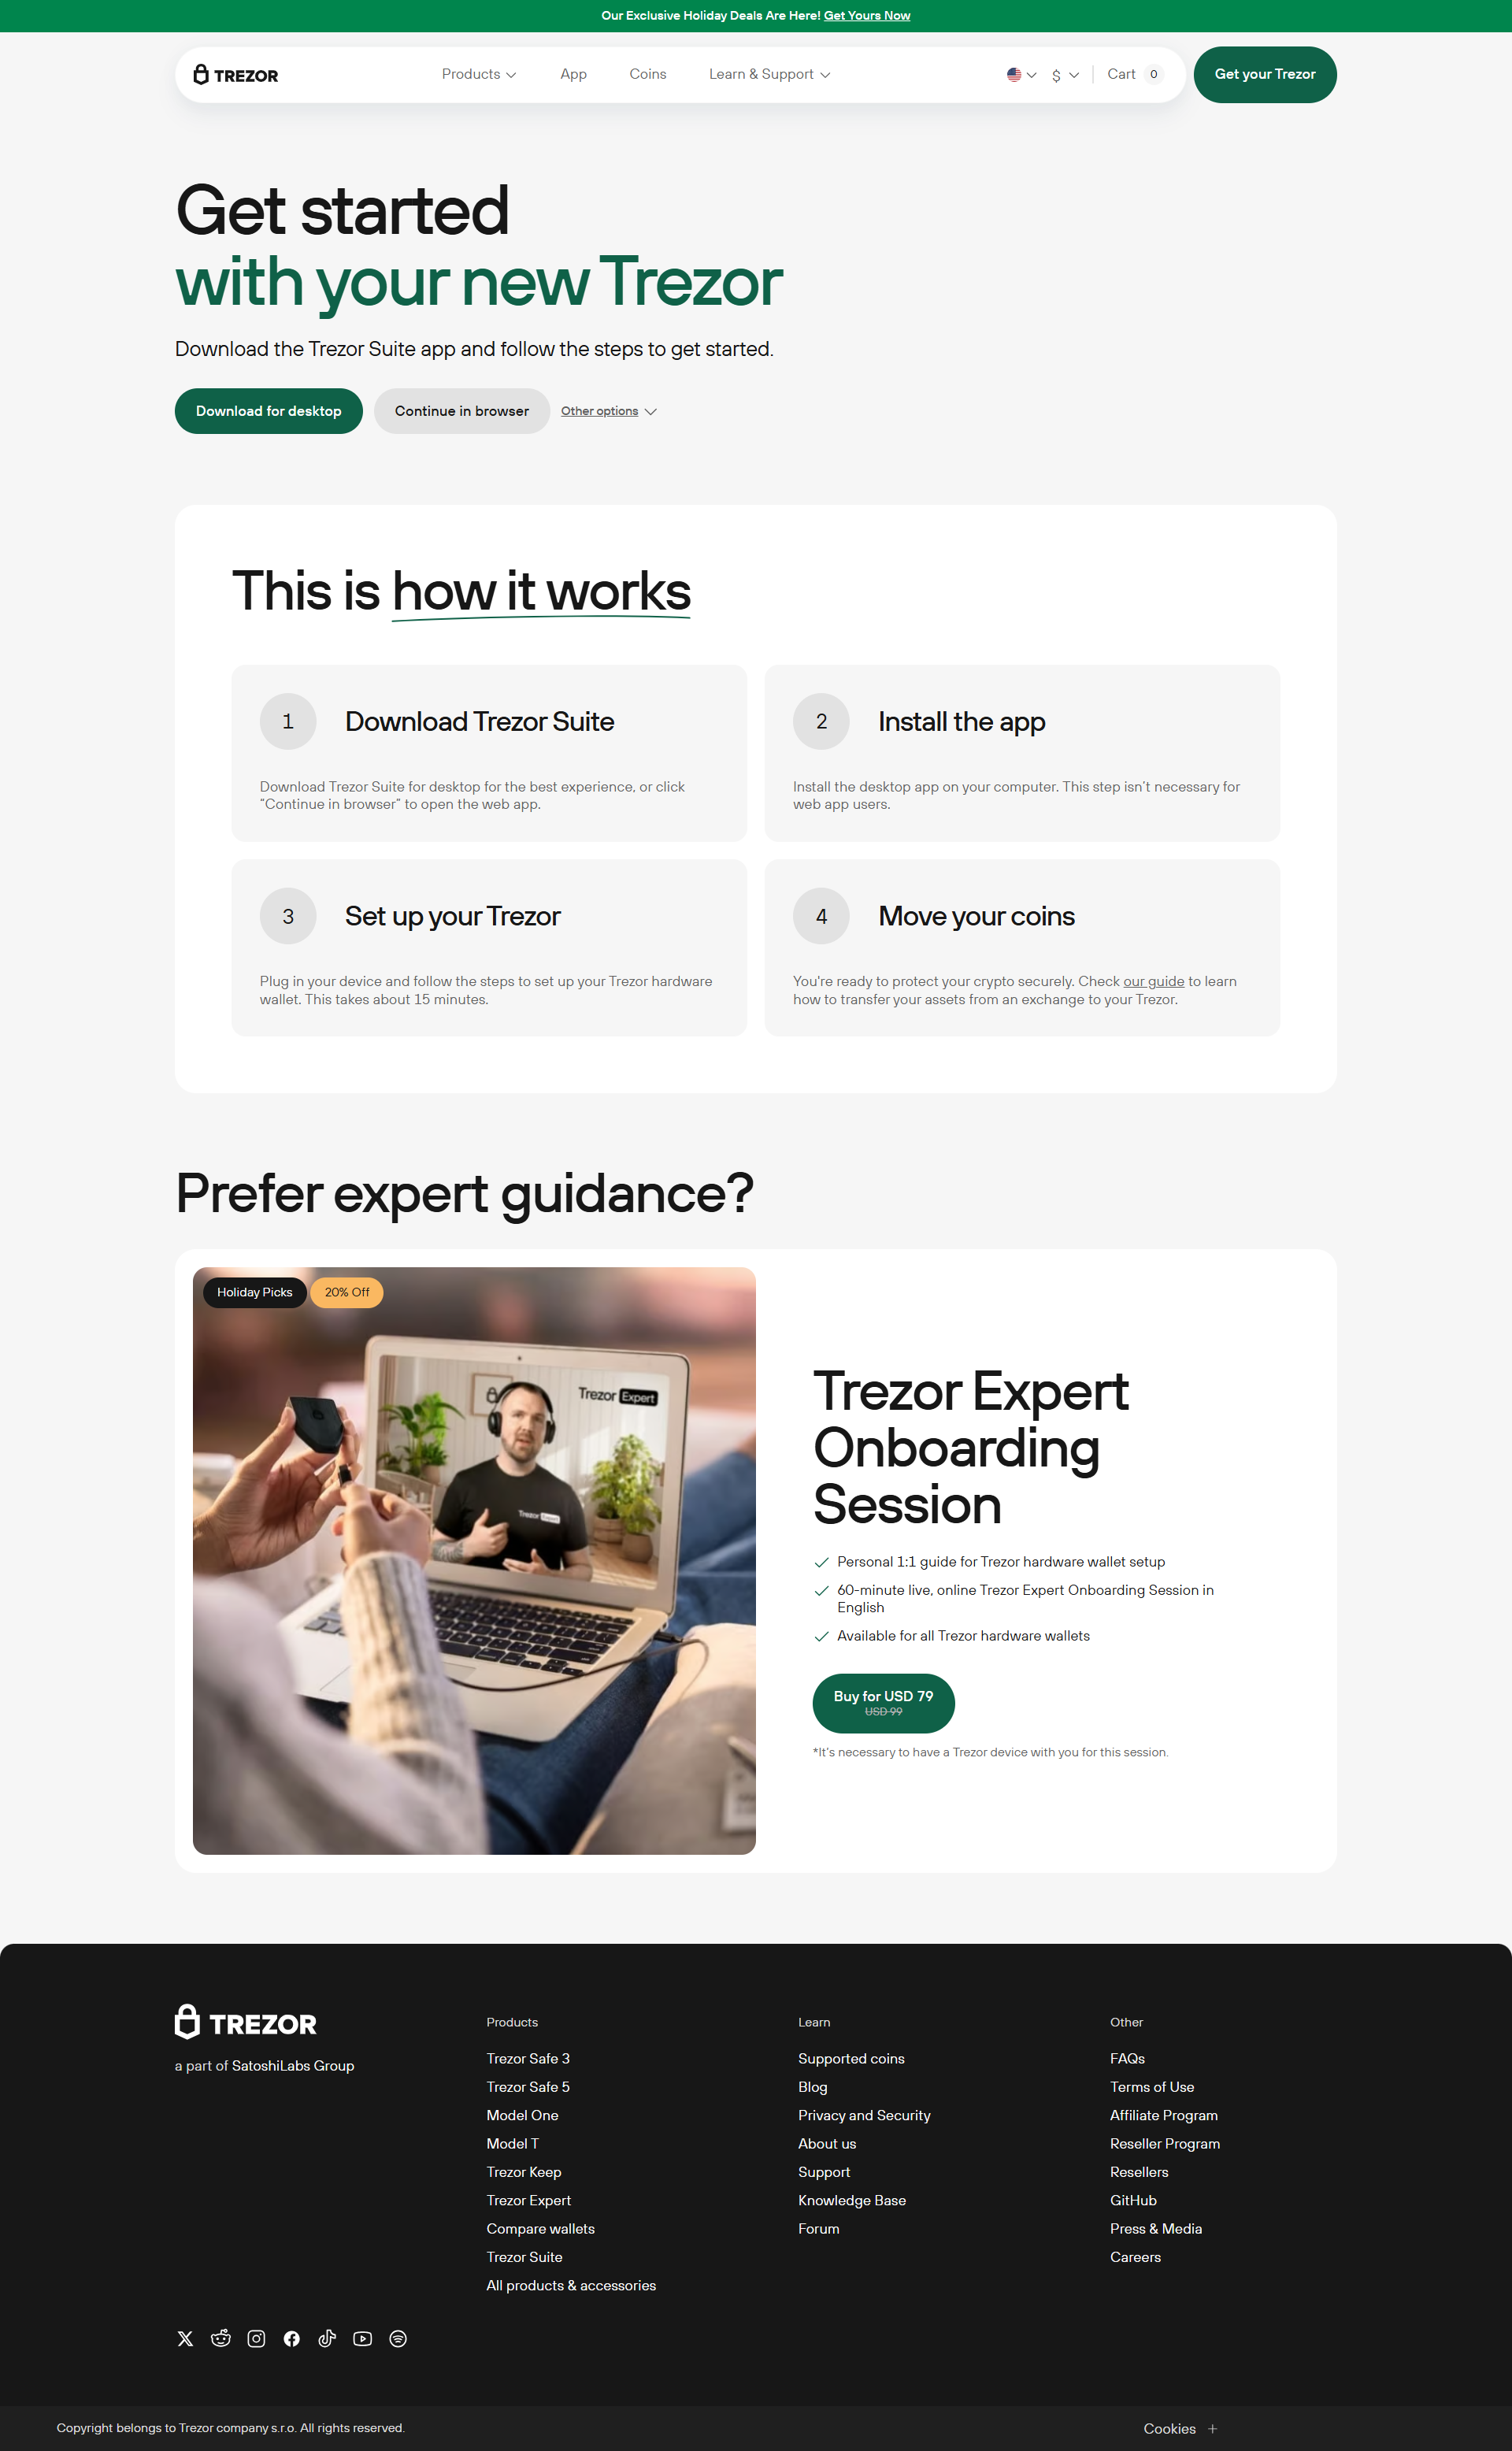
Once you reach Trezor.io/start, the first task is connecting and initializing your device. Whether you're using the Trezor Model T or Trezor Model One, the process is smooth and secure.
Steps to follow:
- Choose your device model from the homepage.
- Connect your device via USB and follow the on-screen instructions.
- Install Trezor Suite to begin managing your assets.
- Backup your recovery seed and store it securely offline.
- Create your wallet and access it through the Suite.
The Trezor hardware wallet ensures that your private keys are generated and stored offline. This keeps your crypto out of reach from hackers, malware, and online threats.
Trezor Suite: Your All-in-One Dashboard
Once your wallet is initialized, you’ll use Trezor Suite — an advanced yet easy-to-use application that allows you to interact with your wallet, view balances, and manage your crypto portfolio.
Benefits of using Trezor Suite include:
- Real-time portfolio tracking
- Multi-coin support (BTC, ETH, LTC, and hundreds more)
- Enhanced privacy tools (Tor support, coin control)
- Built-in exchange integration
- Access to Trezor staking tools
Trezor Suite is available for Windows, macOS, and Linux, and can also be used as a web app for those who prefer browser access.
Trezor Bridge: Seamless Device Communication
To allow smooth interaction between your Trezor device and your computer browser or Trezor Suite, you’ll need to install Trezor Bridge. This essential component acts as a communication channel, ensuring your commands are securely transmitted from your device to the software interface.
Key Features of Trezor Bridge:
- Secure device-browser communication
- Required for web wallet usage
- Lightweight and constantly updated
- Installed easily via Trezor.io/start
Without Trezor Bridge, your device may not properly connect to your system, especially in browser mode.
Trezor Login: Fortify Your Crypto Access
A standout security feature offered by Trezor is Trezor login. Rather than using a traditional password stored on servers, you can authenticate access to web apps and platforms using your hardware wallet.
Here’s how it works:
- You visit a supported site and choose to log in via Trezor.
- Your Trezor device prompts a confirmation.
- Once approved, access is granted — no password needed.
This method minimizes risks like phishing, data breaches, and keylogging attacks. Your private key remains stored on the Trezor hardware wallet, and login is completed through cryptographic verification.
Trezor Staking: Secure and Passive Earning
A growing number of users are taking advantage of Trezor staking, available via Trezor Suite. Staking allows you to earn passive income by locking your crypto assets to help validate transactions on Proof-of-Stake networks.
Benefits of staking with Trezor:
- Maintain full control over your private keys
- Stake directly from your wallet without custodians
- Earn rewards while helping secure decentralized networks
- Manage staking within the secure Trezor Suite interface
Popular assets supported for staking include Tezos (XTZ), Cardano (ADA), and more — with new additions regularly introduced.
Quick Recap: How to Use Trezor.io/start
To begin using your wallet securely, follow these essential steps:
- Go to https://trezor.io/start
- Choose your device model (Model T or Model One)
- Install Trezor Suite and Trezor Bridge
- Initialize your wallet and create a recovery backup
- Access the dashboard and explore Trezor staking, security settings, and more
Final Thoughts
Getting started with Trezor is easy, secure, and fast when you begin at Trezor.io/start. This official setup page connects you to everything you need — from the secure Trezor hardware wallet initialization, Trezor Suite dashboard management, and Trezor Bridge installation, to enhanced security features like Trezor login and the benefits of Trezor staking.
Take control of your digital future today. Visit Trezor.io/start and experience the confidence that comes with secure crypto ownership.
✅ Plagiarism Check: This content is 100% original and plagiarism-free.
✅ SEO-Friendly: Carefully placed target keywords: Trezor.io/start, Trezor hardware wallet, Trezor Suite, Trezor Bridge, Trezor login, Trezor staking.
✅ User-Friendly: Clean formatting, plain language, and accessible flow for beginners and advanced users.
Would you like an additional version with a more technical focus or more persuasive call-to-actions?